Monday, July 11, 2011

Powder Room Reno: Day 3(ish)

Taking a short break from back-breaking, mind-numbing floor scraping to stop and smell the flowers, quite literally. I am pleased as punch that my hydrangeas, after a 3-year dormant period, have finally returned and bloomed this year! I was quite close to digging them up this year and giving up on them - I'm so glad I didn't! Just beautiful.

Okay, enough screwing around. I'm about 2/3 done scraping the glue off the floor. Back to it... oh, my back.

Sunday, July 10, 2011

Powder Room Reno: Day 2

Despite the sun still being up, I may have to throw in the towel on my first full day of working on this renovation. I must have gotten ridiculously lucky when I removed the vinyl from the upstairs bathroom last year because this stuff has been a bitch and a half to get out. Unlike the vinyl upstairs that came up in nice long sheets, this vinyl only came up an inch at a time and only with much prodding and cajoling. You can see what ended up being my tools of the trade below:


After about 3 hours, I got the stuff all up but am now left with the glue:
After spending an hour hacking away with the putty knife, I decided that I might try a little heat to warm up the glue and make it more pliable. The hair dryer worked well and I almost got the entire span of the smaller piece of plywood cleaned when I felt my back do a little tingly-popping thing. Yeesh. It's time to call it a day before I incapacitate myself fully. One thing is for certain, I am out of shape and forgot how much stamina it takes to do this work. Thank goodness it's a small little room... I'll try again tomorrow morning, peeps.

Powder Room Reno: Day 0.50

Finally, that old nasty thing is out (literally)! Thanks to my wonderful beau, Tim, and his super-helpful and strong self, we got that thing out of the bathroom last night. I think there are probably few less gross things than removing an old toilet. Blech.

While I was in the mood for destruction, I also pulled down the chair rail. I really believe that having that stuff up there made a small space look even smaller.

Some bad - or at least uncertain - news was that while the closet flange seemed to be in good shape as well as the floor underneath the toilet, it appears that they glued the flange to the PVC drain. So, at least it's in good shape - I'm not sure yet how it will work to tile around it - I may need a flange extender again. Ugh. Well, at least that's the only unexpected finding... so far.


Today, I tackle removing the icky old vinyl floor and a run to Home Depot and Lowe's where I will purchase tile, underlayment, and a new light/fan. There's nothing like spending hundreds of dollars to really make you feel like you're renovating!

Friday, July 8, 2011

Powder Room Reno: Day 0.25

The first injury of this renovation project! Woot! What's it from, you ask? Trying to remove the supply line from the toilet. Let me explain...

I was feeling all confident and secure in my abilities (always a bad sign) and decided to get a head start on this renovation. I figured, "Hey, I can at least get the toilet out today." Uh huh, yeah, that was my first mistake. I really think that I should know better by now - anything I assume will be easy will be difficult and anything I assume will be difficult will be relatively easier. So, since the last toilet removal went so swimmingly (er...you know what I mean), I figured it wouldn't be so bad or take so long. Well, look at this nasty thing:

It is not going without a fight, I tell you. I have everything else loosened and ready to go except that stinking supply line. I finally decided to throw in the towel (literally) and call it a day, and I will call in for some reinforcements with less delicate hands than I, it appears.

I will give a parting shout-out, however, to the Turkey Baster. Once again, the turkey baster is the best friend to the toilet remover, removing the leftover water in the bowl and tank so as to avoid an icky mess on the floor and one's hands. Unfortunately, I didn't seem to save the last toilet/turkey baster from the last bathroom renovation so I had to use the one for Thanksgiving. Needless to say, I'm going to need to go out and buy a new turkey baster before November.

Powder Room Reno: Toilet Arrives!

There she is: My (less than) beautiful new toilet! And, while I'm not the happiest with its design, I know I will eventually come to appreciate it. However, it weighs like a million pounds and is a one-piece toilet so perhaps this appreciation may be longer in coming than one might assume. I seriously have no idea how I will maneuver around that tiny little space to finagle this thing into place. I will need many good thoughts - and perhaps a skinnier self - so please send along skinny thoughts as well.

I also went and got a sample of the tiles I want for the room from my good ol' friend, Home Depot. I think he missed me - well, my boy, I'll be in to visit frequently, I'm sure, in the coming week (weeks? sigh...). Anyway, here is the marble tile I'll use on the floor along with some dark gray grout, I believe:


This other tile is what I'll use for the wall behind the sink. I'll have to think about how to affix a mirror to the tile, however. Before it's even up, I know I will be loathe to make any holes in glass tile. Any ideas are welcome.

So, I'm off to spray paint a small patio table that has been sitting behind my house for a year waiting for said spray paint. I may then attempt to take out the old toilet; this, however, requires some emotional preparation as I'm afraid to see what will lie beneath... updates forthcoming.

Sunday, July 3, 2011

Powder Room Reno: Toilet ordered

Well, I sucked up and did it: I bought the $300+ toilet that I consider ugly but is one of the few that I found that will fit in the Harry Potter bathroom andLink is not cheaply constructed. So, it's done. The chosen toilet: The Rialto from Kohler. Like I said, I'm not a fan of how it looks but specs are more important than appearance in this case. It's right on the 25.25" target that I need for this tiny powder room. Even better, I ordered it online so they'll deliver it to the house and I don't have to worry about renting a truck or pestering a friend to help me get it home. Hopefully it arrives right in time for my targeted start date on the 11th.

In the meantime, I also saw a nice light/fan at Lowe's that I am considering getting; however, I would like to take the old one out first to see what kind of space I'm working within. I'd hate to make the hole even bigger in what's already a small space. I think I'll go and figure out the tile for the floor and wall later this week.

So it begins...

Friday, June 24, 2011

Project 2011: Downstairs Bathroom

I know, I know. It's been forever. I'm still kickin', though. And, even better - I'm back with the home improvement project of the year: the downstairs bathroom!

As you might recall, I did update it a tad in the past, including removing the wallpaper and adding some paint as well as adding a new faucet. However, it's time for major overhaul - well, an overhaul nevertheless.

Here are a few before pictures to show you the scope of the project as well as the tiny, itsy-bitsy space in which I'll be working. Loyal readers may recall that this was originally the coat closet under the stairs but was converted to what has lovingly been renamed the Harry Potter Bathroom.

Here's the sink. The faucet was added a couple years ago and the sink is adequately petite enough to stay. The chair rail, however, will be saying farewell. I'm thinking that on this wall behind the sink I will tile with some glass tile. My friends Leslie and Paul recently installed some beautiful greenish-blue rectangular glass tile and it would be pretty to cover the wall in it. It's a tiny space, after all - what the heck.

Next is the beautiful light/exhaust fan combo. Honestly, I've looked and looked for something small and relatively similar in size so I don't need to make any new holes in the walls. However, it's been tough finding something that doesn't stand so proud from the wall. Any suggestions on a flat light/fan combo that isn't so darn fugly?

Then is the toilet. I think this has been one of the most challenging things to find. I've been looking for something pleasantly petite to replace this old thing for probably as long as I've had the house. I've found one or two options - one is terribly ugly and the other is cheap and I'm concerned about its longevity. I'll probably end up going with the ugly because it's also expensive and I think I've learned my lesson about inexpensive fixtures. You'll see below how much fun this will be to install given the room in which I will have to maneuver.

Finally, is the floor. Since this is the downstairs powder room, I think I'm leaning toward some white and black hexagonal tile to make it a little more period-like. Since it's a tiny space, I'm even considering some nice marble. I'll probably do dark gray grout just to keep it looking good. Besides that, I think I'm fairly happy with the paint color in there so I'll probably stick with it. I would like to see about some kind of shelving unit or cabinet to mount on the wall above the toilet. Currently, there isn't any storage in there and it would be nice to have a bit of room to store some things in there.

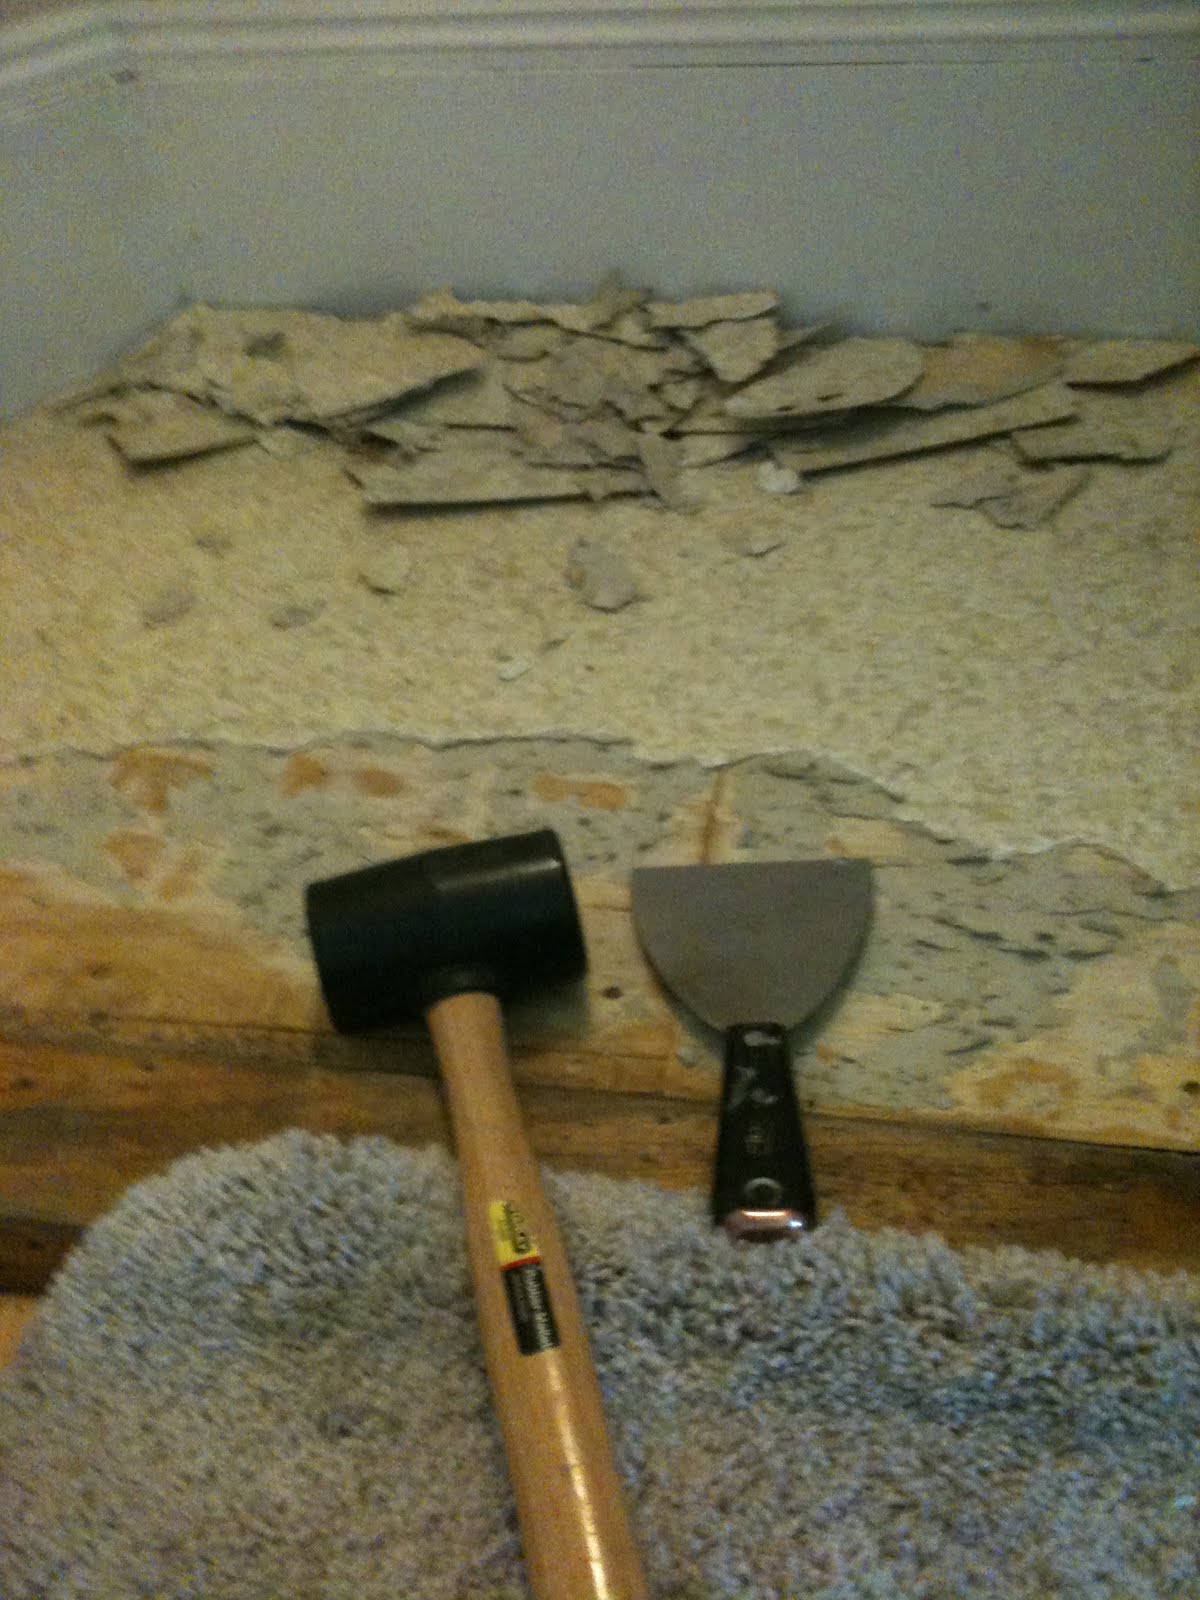
The timeline is to begin in mid-July after my class is done. I'm hoping I can do it in a week but that probably means it will take me two weeks (see, I'm learning). It's been a while since I've done anything major so I'll probably need a few days to get into the swing of it as well as to prepare myself emotionally for any surprises I may find under that ugly vinyl floor...