Monday, August 1, 2011

Bangor Foursquare - For Sale

No, I'm not kidding - I'm selling my lovely home. Believe me, this decision is one of the hardest I've ever had to make - I'll miss this wonderful home. You loyal readers know better than anyone how much of myself I have invested in this house. I only hope that the next owner will love it as much as I have.

Why am I selling, you ask? Because I'm in love. Why now? Because the market is stinky. So, love + stinky market = get out while the getting is better than abysmal....I guess that's as good of reason as any.

For those of you who will be sad to see my amazing blogging and home improvement talents go - the good news is that I will continue to work on Tim's house once I move in (lots of home improvement fun awaiting me in the countryside!) and perhaps there will be a new blog coming along with me...

So, if you know of anyone looking for a beautiful, structurally-sound, energy efficient, and eco-friendly renovated home in a lovely neighborhood in Bangor, Maine, please let me know. I hope it will be on the market this week.

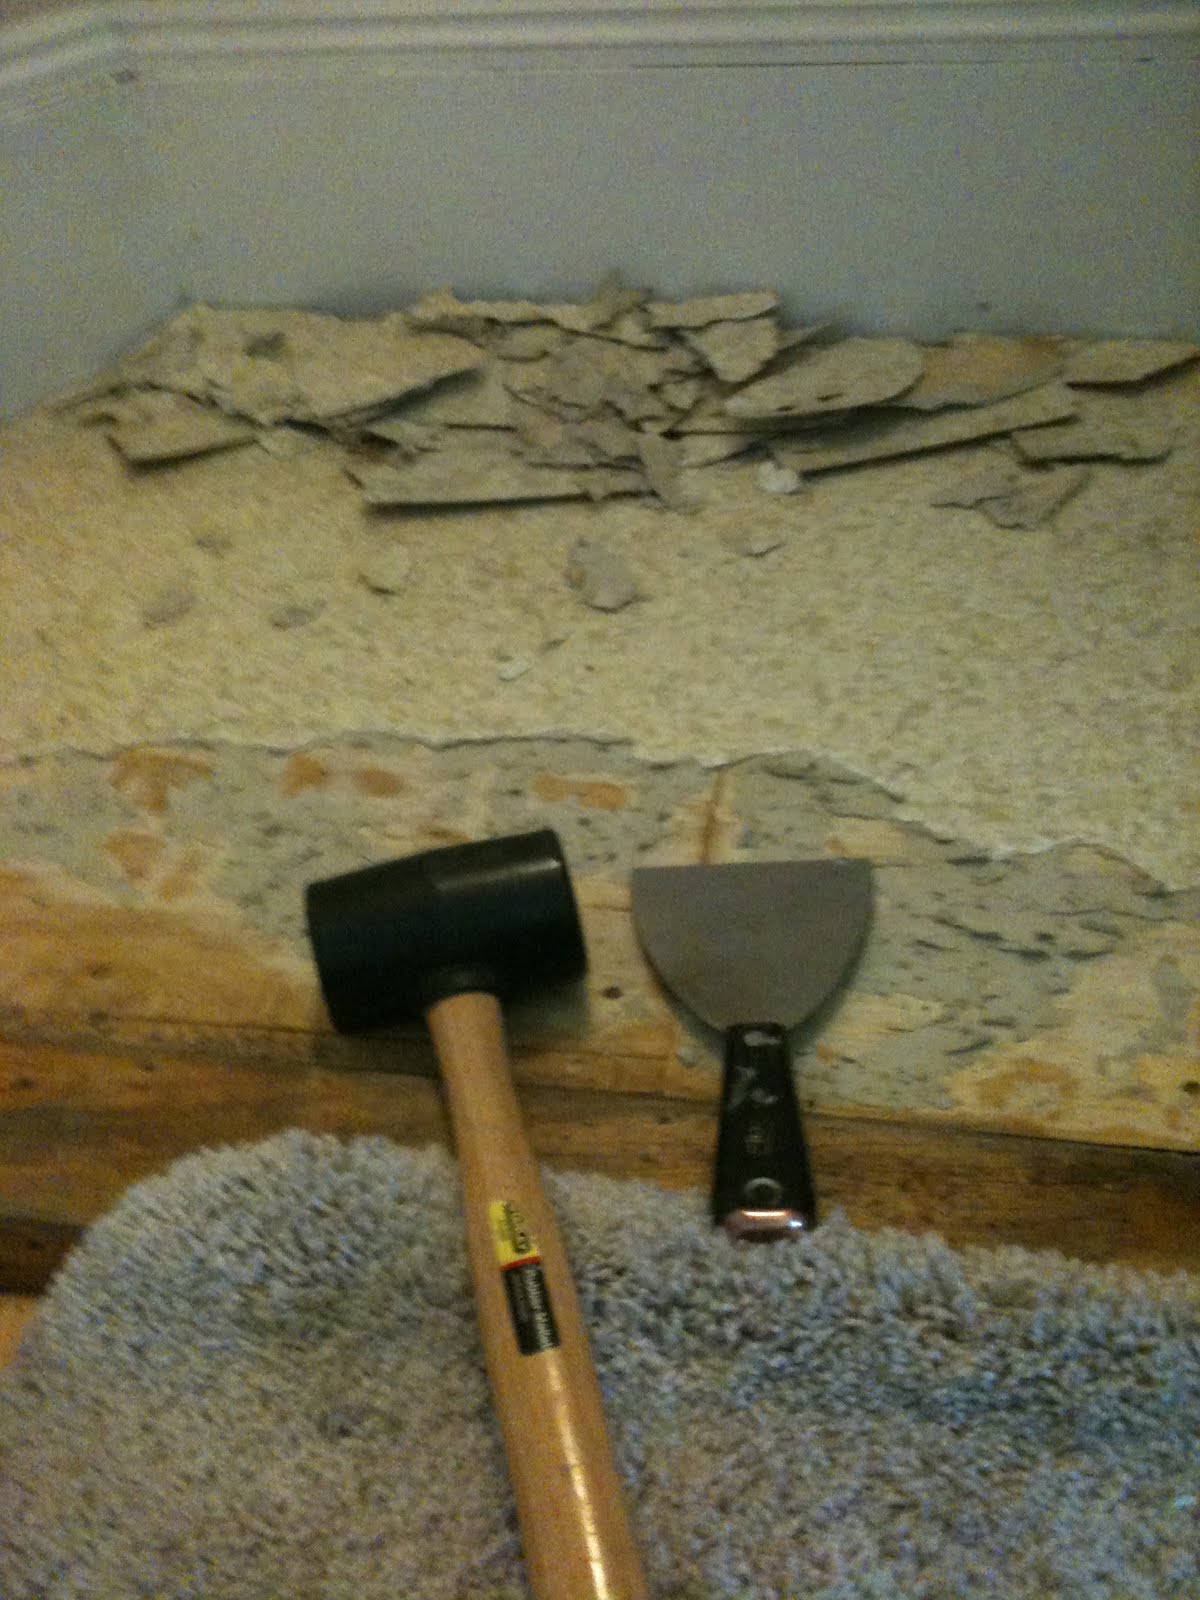
In the meantime, all kinds of fun little exhausting things on the punch list - today was scraping and painting the front porch floor and stairs (yes, again). Tomorrow will be removing the wheelchair ramp in the back - you know, the one I couldn't give away... and replacing it with steps. And then some general tidying in the attic, the basement, and maybe a little sprucing up in the back entry. Who knows how we'll fare in this market. I hope it's not too painful. Wish me luck.

Wednesday, July 27, 2011

Powder Room Reno: Day Whatever Continued

A few more tasks checked off the punch list! I asked Tim to come over and tighten the bolts on the tank (due to my puny hands) and instead he finished installing the whole thing - including hooking up the supply line and putting on the seat. Pretty nice! So, not only is this high quality toilet installed - it even works! Huzzah!

So, today, I touched up the paint on the baseboards and am considering what to do about the wall around the light. One wise soul suggested a lower wattage light bulb (!) but this same wise person suggested a product from Sherwin Williams called Ultra Hide. I trust this wise soul since he runs a contracting company and used to be a taper (thanks, Steve!). So, I might look into it.

Besides that, just a few last things like putting in a new mirror (I'm looking for a small round one) and some kind of shelving and/or cabinet to put above the toilet to store TP and the like. Still on the lookout for the soap dish too.

In other unrelated bathroom news, I did return this afternoon from a work trip to find this beautiful surprise:
That would be the marble threshold in the upstairs bathroom! Hooray! I can finally call that room done, done, and done! Thanks to Tim and Paul for the wonderful surprise!

Friday, July 22, 2011

Powder Room Reno: Day (Whatever)

I've given up counting the days of the renovation because now it is just a minute here and minute there. The last few days have consisted of skim coating and sanding a coat every so often. Today, in the ridiculous heat (well, ridiculous for Maine standards, anyway), I finally put in the light. Pretty easy stuff and I was pretty darn happy with it until...


I turned on the light. Ew. Ick. Yucky. Seriously, what is it about me and skim coating? I get it to what I consider to be pretty smooth and then I paint it and see what the the light of the day has to show me: not smooth. Ish. I'm going to need to work on those walls. Yuck. I guess the reality is that they weren't smooth when I began but the light in there before hid a few more evils than this one obviously does.

So, what's left? I need to finish getting the toilet going, hang up the mirror, perhaps put in some quarter round around the floor and baseboards, paint the baseboards, put up a shelf/cabinet up behind the toilet and I'd still like to find a hanging soap dispenser since there isn't any room for one on the sink itself. So, slowly but surely...

Monday, July 18, 2011

Powder Room Reno: Day #*$

Ever hear of Lamosa toilets? Yeah, me neither. Unfortunately, however, that is the brand of my new toilet. Grrr. In spite of my best intentions, I failed to measure correctly for the new toilet. As you see below, there is some funny architecture in that tiny little bathroom, with a post on the other side of door casing - which I assume to be structural. From that point, it juts out a bit more - and that is where I measured...not in between the casing and the wall. Sigh. You'd think that after 2 years of plotting and scheming that I would have figured this out at some point... yeah, you'd think that.

So, what is to become of my $300 Kohler toilet? Perhaps it heard the nasty things I've said about it and decided to inflate itself so as not to fit... hmm, this is plausible. Luckily for me, it will not continue to sit in the hallway for too long.
Home Depot will graciously let me return it - but, ungraciously, I will need to get it back to Home Depot on my own, despite the fact that I had it delivered to the house. Sigh. That thing weighs a ton.

So, after a brief pout, I went to Home Depot and bought the world's most inexpensive but pleasantly petite toilet. That's right, folks, for a mere $54 you too can be a proud owner of a (...what was it again?...) a Lamosa! I think this thing is probably not long for this world. The good news is that it fits, that it still uses less water than the old thing did, and that I was able to get it in my car and installed all on my own. I will need a hand in getting the nuts tightened, however - I'm not so good at that part. So, there it is: The new potty. Sigh. Off to bed with me. Tomorrow brings more hacksaw action to the grab bar screws (two down, four more to go) and another coat of JC....perhaps some paint, if I'm lucky.

Sunday, July 17, 2011

Powder Room Reno: Day 6

Back from the brief hiatus, folks. I had a few days of other projects to which to attend but I have returned for a few items on the reno to-do list. First, was removing the haze from the tile after grouting on Thursday. If you can ignore the dirty baseboards, you can see the result of the work. I went with a gray on the floor grout for the black and white marble tile. I'm pretty pleased with it - I would have liked white grout but I know that's ridiculous to keep clean on a floor:
And basic white on the wall grout with the glass tile:
Cleaning off and buffing each and every single individual tile is no mere task. It took quite a while - but it's done. So, I next started on patching up the holes around what will be the new light and cleaning up the holes in the plaster made by removing the old chair rail:
You'll see, however, that the despicable grab bar is still there. I had a time removing the ones upstairs, too - it seems the only way to get rid of them is to either destroy the wall (which I did upstairs) or to cut out the screws with a hacksaw. Neither option is terribly fun nor clean. Ugh. I think I may attempt some more work on it later as I wait for the JC to dry around the light and the outlet/switch. Next will be to install the toilet but I'm a little nervous to attempt it myself given the fact that it's a one-piece and quite heavy. Nevertheless, there isn't much room to maneuver for more than one person. We'll see what I can manage. Back to work tomorrow (the kind for which I get paid) so things will slow down a bit here. Wish me luck finishing up this puppy!

Wednesday, July 13, 2011

Powder Room Reno: Day 5

It's mostly done. I tiled the floor today, using the mosaic sheets - but this time it's marble. It went down pretty easily and I mixed exactly the right amount of mortar, luckily. However, cutting this stuff is less than easy. It's just too difficult to navigate the wet saw with these little buggers and they're too thick for tile nippers. I'm a bit frustrated. I only need about 6 or 7 cuts to finish this thing up but I've had it for the day.

Besides the floor, I also finished up the wall. I went and bought some glass tile nippers/cutters and they work like a charm. I was able to do the many different sized cuts for the wall pretty darn easily.
So, I'll see what I can find at HD or Lowe's for the marble cuts. I also bought a new fan and separate sconce today at Lowe's as I was returning my (count it) second exhaust fan. Perhaps the third time is the charm -- I opened the box this time, at least, to ensure that I could mount this puppy on the wall before I bought it. I'm just not certain yet how I'm going to arrange them on the wall or what I'm going to need to do to repair/extend/move the hole.

Hopefully grouting tomorrow...

Tuesday, July 12, 2011

Powder Room Reno: Day 4 concluded

I absolutely refused to go to bed tonight without having feeling like I accomplished something today - so here it is, folks: a tiled wall. I love this glass tile and it's the first time I've tiled with the mesh sheets - how easy is this stuff?!? Love it. I will have to make a million little cuts (any tips? last time I tried in the upstairs bathroom, it wasn't so easy nor fun...) but for now, it looks good. I'm actually debating whether I will even continue it any further below the line of the sink right now. I had planned to do the whole wall, which includes behind the plumbing, but I might let it go. I'll get a second and third opinion and decide from there (that means you, Tim and Paul).

Speaking of Paul, he once again came to the rescue, dropping off some much needed polymer-fortified mortar that I will need for the floor. I forgot that I need to get the powder kind when I use underlayment - I hate that stuff, but c'est la vie. It seemed silly, however, to buy an entire bag of the stuff for what amounts to a 2'x5' space. So, Paul gave me the rest of his bag from their last bathroom project. Thanks, Paul (and, by association, Leslie :)

In other news, while waiting for my hair color to kick in at the salon, I did a little internet investigation on my phone regarding the exhaust fan/light. It appears that the minute a light is included, it's not recommended for walls. Shrug. Don't ask me. So, I think I'm going to jury-rig something within the existing hole:
Perhaps something along the lines of putting in the code-required exhaust fan on either the top or bottom and then a nice wall sconce or the like. I guess it means trying to find something that isn't too obtrusive for that tiny space. Hooray - just what I wanted, more shopping for hard-to-find things. Sigh.

All right, kids, off to bed for me to rest these weary bones. Tomorrow comes the floor...

Powder Room Reno: Day 4 continued

I will have something to show for today, dammit. I went back to Lowe's to exchange fan/light and get new (ugly) one that says, on the Internet, that it's suitable for wall mounting. I get it home and directions say "Do NOT mount on wall." Well, f-you. I have to run to an appointment and then have other errands to run this afternoon so nothing to show for today except a hole in the wall and still no fan/light. I decided to at least slap up some of the wall tile to feel that something was accomplished. The cuts aren't going to be fun later but here's a few sheets up, anyway. Grrr. This is the time on Sprockets when we curl into the fetal position and take a nap.

Powder Room Reno: Day 4 (sigh)


Sometimes I think this blog should serve as a what-not-to-do for DIYers. Today's (first?) mistake: removing the bathroom vent/light on the wall to only discover that the one I purchased is not intended for wall installation. In fact, very few vents with lights included seem to be intended for wall mounting. I know that by code I am required to have a vent in the bathroom but part of me is thinking of skipping it. Sigh. I could then have a nice light instead... blah. I need to think on this.

Monday, July 11, 2011

Powder Room Reno: Day 3 continued

Sheesh! Finally! After 4 hours of scraping today, I have finally removed all of the flooring and residual adhesive from the floor. I'm sure, however, that using the hair dryer to loosen the adhesive may have released some noxious fumes. Now, I've traded in those fumes for others. I decided to try something different this time for the tile underlayment instead of the Ditra. Don't get me wrong, I loved the Ditra and, a year later, I still have no cracked tiles or grout on my bathroom floor. However, the mortar they suggested using made me feel like I was taking years off my life with the cancer warnings all over it. So now I'm trying the EasyMat system and the primer, I'm sure, is just as noxious. Geez. Why can't anyone invent anything more environmentally (and human) friendly?

So, I'm waiting for the primer to dry and then I'll put on the mat. I doubt I'll do any tiling today, unfortunately. I think by the time I get that all measured and cut, me and my back will need to call it a day. Tiling tomorrow morning, I hope. I can maybe then work on installing the light/fan while the mastic dries. If I'm lucky, grouting the floor on Wednesday, putting in the new toilet on Thursday, and then I can do the wall tile and touch up the paint on Friday and grout the wall on Saturday. Best laid plans... I don't even know why I bother putting this in writing - I'm so jinxing myself right now.

Powder Room Reno: Day 3(ish)

Taking a short break from back-breaking, mind-numbing floor scraping to stop and smell the flowers, quite literally. I am pleased as punch that my hydrangeas, after a 3-year dormant period, have finally returned and bloomed this year! I was quite close to digging them up this year and giving up on them - I'm so glad I didn't! Just beautiful.

Okay, enough screwing around. I'm about 2/3 done scraping the glue off the floor. Back to it... oh, my back.

Sunday, July 10, 2011

Powder Room Reno: Day 2

Despite the sun still being up, I may have to throw in the towel on my first full day of working on this renovation. I must have gotten ridiculously lucky when I removed the vinyl from the upstairs bathroom last year because this stuff has been a bitch and a half to get out. Unlike the vinyl upstairs that came up in nice long sheets, this vinyl only came up an inch at a time and only with much prodding and cajoling. You can see what ended up being my tools of the trade below:


After about 3 hours, I got the stuff all up but am now left with the glue:
After spending an hour hacking away with the putty knife, I decided that I might try a little heat to warm up the glue and make it more pliable. The hair dryer worked well and I almost got the entire span of the smaller piece of plywood cleaned when I felt my back do a little tingly-popping thing. Yeesh. It's time to call it a day before I incapacitate myself fully. One thing is for certain, I am out of shape and forgot how much stamina it takes to do this work. Thank goodness it's a small little room... I'll try again tomorrow morning, peeps.

Powder Room Reno: Day 0.50

Finally, that old nasty thing is out (literally)! Thanks to my wonderful beau, Tim, and his super-helpful and strong self, we got that thing out of the bathroom last night. I think there are probably few less gross things than removing an old toilet. Blech.

While I was in the mood for destruction, I also pulled down the chair rail. I really believe that having that stuff up there made a small space look even smaller.

Some bad - or at least uncertain - news was that while the closet flange seemed to be in good shape as well as the floor underneath the toilet, it appears that they glued the flange to the PVC drain. So, at least it's in good shape - I'm not sure yet how it will work to tile around it - I may need a flange extender again. Ugh. Well, at least that's the only unexpected finding... so far.


Today, I tackle removing the icky old vinyl floor and a run to Home Depot and Lowe's where I will purchase tile, underlayment, and a new light/fan. There's nothing like spending hundreds of dollars to really make you feel like you're renovating!

Friday, July 8, 2011

Powder Room Reno: Day 0.25

The first injury of this renovation project! Woot! What's it from, you ask? Trying to remove the supply line from the toilet. Let me explain...

I was feeling all confident and secure in my abilities (always a bad sign) and decided to get a head start on this renovation. I figured, "Hey, I can at least get the toilet out today." Uh huh, yeah, that was my first mistake. I really think that I should know better by now - anything I assume will be easy will be difficult and anything I assume will be difficult will be relatively easier. So, since the last toilet removal went so swimmingly (er...you know what I mean), I figured it wouldn't be so bad or take so long. Well, look at this nasty thing:

It is not going without a fight, I tell you. I have everything else loosened and ready to go except that stinking supply line. I finally decided to throw in the towel (literally) and call it a day, and I will call in for some reinforcements with less delicate hands than I, it appears.

I will give a parting shout-out, however, to the Turkey Baster. Once again, the turkey baster is the best friend to the toilet remover, removing the leftover water in the bowl and tank so as to avoid an icky mess on the floor and one's hands. Unfortunately, I didn't seem to save the last toilet/turkey baster from the last bathroom renovation so I had to use the one for Thanksgiving. Needless to say, I'm going to need to go out and buy a new turkey baster before November.

Powder Room Reno: Toilet Arrives!

There she is: My (less than) beautiful new toilet! And, while I'm not the happiest with its design, I know I will eventually come to appreciate it. However, it weighs like a million pounds and is a one-piece toilet so perhaps this appreciation may be longer in coming than one might assume. I seriously have no idea how I will maneuver around that tiny little space to finagle this thing into place. I will need many good thoughts - and perhaps a skinnier self - so please send along skinny thoughts as well.

I also went and got a sample of the tiles I want for the room from my good ol' friend, Home Depot. I think he missed me - well, my boy, I'll be in to visit frequently, I'm sure, in the coming week (weeks? sigh...). Anyway, here is the marble tile I'll use on the floor along with some dark gray grout, I believe:


This other tile is what I'll use for the wall behind the sink. I'll have to think about how to affix a mirror to the tile, however. Before it's even up, I know I will be loathe to make any holes in glass tile. Any ideas are welcome.

So, I'm off to spray paint a small patio table that has been sitting behind my house for a year waiting for said spray paint. I may then attempt to take out the old toilet; this, however, requires some emotional preparation as I'm afraid to see what will lie beneath... updates forthcoming.

Sunday, July 3, 2011

Powder Room Reno: Toilet ordered

Well, I sucked up and did it: I bought the $300+ toilet that I consider ugly but is one of the few that I found that will fit in the Harry Potter bathroom andLink is not cheaply constructed. So, it's done. The chosen toilet: The Rialto from Kohler. Like I said, I'm not a fan of how it looks but specs are more important than appearance in this case. It's right on the 25.25" target that I need for this tiny powder room. Even better, I ordered it online so they'll deliver it to the house and I don't have to worry about renting a truck or pestering a friend to help me get it home. Hopefully it arrives right in time for my targeted start date on the 11th.

In the meantime, I also saw a nice light/fan at Lowe's that I am considering getting; however, I would like to take the old one out first to see what kind of space I'm working within. I'd hate to make the hole even bigger in what's already a small space. I think I'll go and figure out the tile for the floor and wall later this week.

So it begins...

Friday, June 24, 2011

Project 2011: Downstairs Bathroom

I know, I know. It's been forever. I'm still kickin', though. And, even better - I'm back with the home improvement project of the year: the downstairs bathroom!

As you might recall, I did update it a tad in the past, including removing the wallpaper and adding some paint as well as adding a new faucet. However, it's time for major overhaul - well, an overhaul nevertheless.

Here are a few before pictures to show you the scope of the project as well as the tiny, itsy-bitsy space in which I'll be working. Loyal readers may recall that this was originally the coat closet under the stairs but was converted to what has lovingly been renamed the Harry Potter Bathroom.

Here's the sink. The faucet was added a couple years ago and the sink is adequately petite enough to stay. The chair rail, however, will be saying farewell. I'm thinking that on this wall behind the sink I will tile with some glass tile. My friends Leslie and Paul recently installed some beautiful greenish-blue rectangular glass tile and it would be pretty to cover the wall in it. It's a tiny space, after all - what the heck.

Next is the beautiful light/exhaust fan combo. Honestly, I've looked and looked for something small and relatively similar in size so I don't need to make any new holes in the walls. However, it's been tough finding something that doesn't stand so proud from the wall. Any suggestions on a flat light/fan combo that isn't so darn fugly?

Then is the toilet. I think this has been one of the most challenging things to find. I've been looking for something pleasantly petite to replace this old thing for probably as long as I've had the house. I've found one or two options - one is terribly ugly and the other is cheap and I'm concerned about its longevity. I'll probably end up going with the ugly because it's also expensive and I think I've learned my lesson about inexpensive fixtures. You'll see below how much fun this will be to install given the room in which I will have to maneuver.

Finally, is the floor. Since this is the downstairs powder room, I think I'm leaning toward some white and black hexagonal tile to make it a little more period-like. Since it's a tiny space, I'm even considering some nice marble. I'll probably do dark gray grout just to keep it looking good. Besides that, I think I'm fairly happy with the paint color in there so I'll probably stick with it. I would like to see about some kind of shelving unit or cabinet to mount on the wall above the toilet. Currently, there isn't any storage in there and it would be nice to have a bit of room to store some things in there.

The timeline is to begin in mid-July after my class is done. I'm hoping I can do it in a week but that probably means it will take me two weeks (see, I'm learning). It's been a while since I've done anything major so I'll probably need a few days to get into the swing of it as well as to prepare myself emotionally for any surprises I may find under that ugly vinyl floor...

Friday, May 6, 2011

Custom-made toilet seats?

I'm putting out the call for help from my savvy home improvement peeps: I have a friend who is looking for a replacement toilet seat for a toilet that is no longer made. After an exhaustive web search it doesn't appear it's sold anymore. So my question is, does anyone know of a place that can make custom-made toilet seats?

The model and style is the Eljer Savannah (and, yes, I've already sent a stern message to said individual about ordering non-standard items).

I will return shortly for Home Improvement Project 2011: The downstairs powder room!